Deploying Machine learning model a simplistic approach
There are many phases when it come building a machine learning solution, from data preprocessing all the way to deployment, many of them with their sets of challenges and nuances, today let’s explore a simplistic approach to deploying a trained keras model that classify images of dogs and cats in a Flask application.
About the model
The model itself is a very standard CNN, it’s mostly based on Keras computer vision classification developer examples with some minor tweaks I made available on Notebooks repository. It is store as a hdf5 which contains all the necesary layers and weight configurations to be loaded back on a different environment. Now here versioning of the keras and tensorflow packages is very important, as many time there is no backward compatible when using this deep learning frameworks.
Using model within Flask
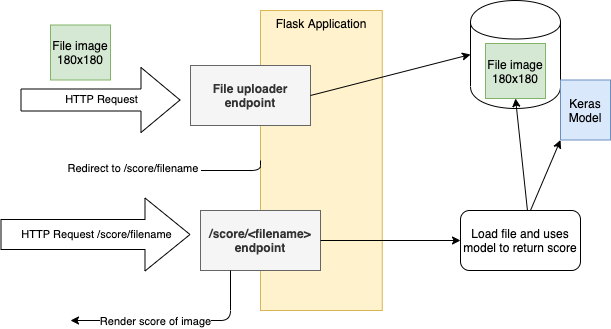
Flask plays very nice into this solutio, basically it is a microframework to quickly build web applications using python without all the boilerplate and opinionated dependencies a frameworks like Django has, and considering the main interface for keras and tensorflow is written in python it’s a logical player to have a rather simple deployment for models. The app is very simple it will allow us to upload a picture, then we’ll use the model to provide the probabilities for each category and ouput those probabilities to the user. The architecture would look like this
1. Upload file code
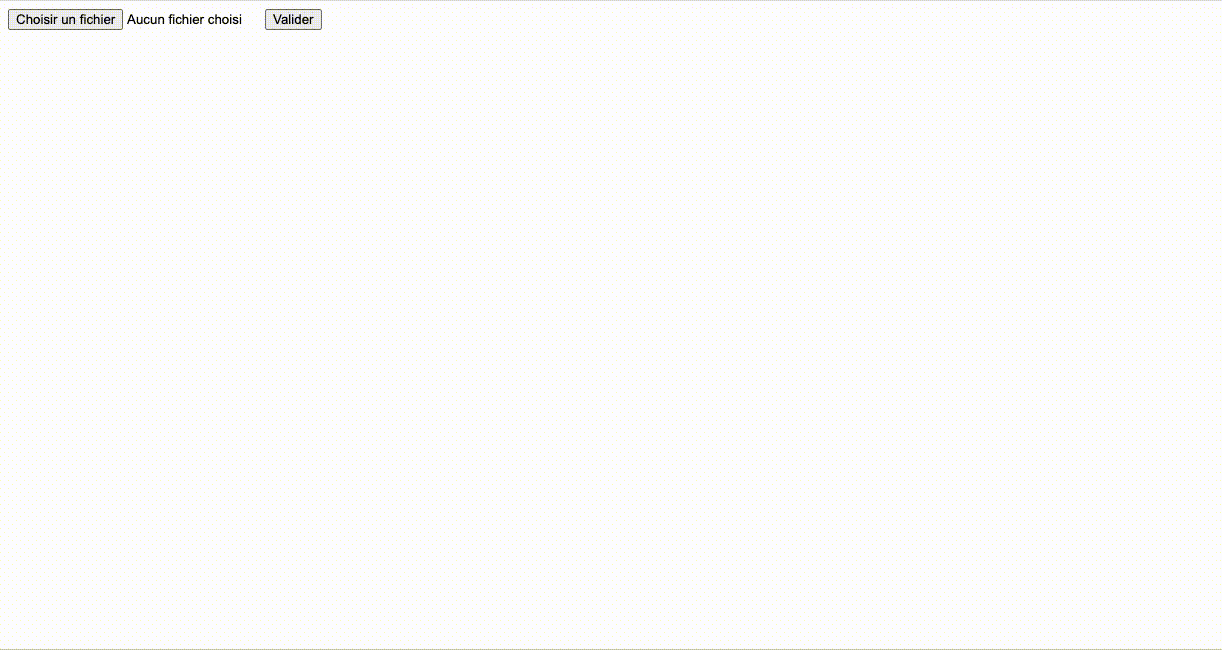
To upload the code which is a fairly standard task nowadays, we’ll use a code similar to the official docs for uploading files. Base on the request object, inspect the file attribute and save it if possible.
@app.route('/classify', methods = ['GET', 'POST'])
def upload_file():
    if request.method == 'POST':
        f = request.files['file']
        filename = secure_filename(f.filename)
        f.save(os.path.join(app.config['UPLOAD_FOLDER'], filename))
        return redirect(url_for('score_image', filename = filename))

    return render_template('dog_cat_classification.html')
2. Use Keras model
In the code above there is a redirection using score_image url. The code bellow allow to render the template for score_image.html and more importantly use the trained model. It is important that the image use here has the exact same size requires in the input for the model (One can actually use variable size image I suggest starting with fixed size due to the complication it can pose).
Another note in the code bellow is the usage of expand_dims, since the model was trained using a whole data set (N, 3, 180, 180) and the image we load only have 3 dimensions (3, 180, 180), the code will add an extra 1 dimension to fit the right input of the model. This is explained in further detail in tensorflow official docs.
This operation is useful if you want to add a batch dimension to a single element. For example, if you have a single image of shape [height, width, channels], you can make it a batch of one image with expand_dims(image, 0), which will make the shape [1, height, width, channels].
@app.route('/score/<filename>')
def score_image(filename):
    image_size = (180, 180)
    testImagePath = os.path.join(app.config['UPLOAD_FOLDER'], filename)

    img = keras.preprocessing.image.load_img(testImagePath, target_size=image_size)
    img_array = keras.preprocessing.image.img_to_array(img)
    img_array = tf.expand_dims(img_array, 0)

    predictions = model.predict(img_array)
    score = predictions[0]
    print(
        "This image is %.2f percent cat and %.2f percent dog."
        % (100 * (1 - score), 100 * score)
    )

    return render_template('score_image.html',  cat_score = 100 * (1 - score), dog_score = 100 * score, filename = filename)
3. The result
The full code for this is on github in case you want to give it a try.